The Anycubic resin printers provide a mode where the build plate is divided in a 2x4 grid. Each grid cell is is exposed for a different duration to find the optimal settings.
The USB drive that came with the printer contains a file with a special name: Simple_R_E_R_F文件.px6s. When printing this file, the printer automatically switches each quarter of the light off at .25 seconds later than the previous one. The default file contains a model that prints over an hour.
To be faster, I switched to this expose test file: https://cults3d.com/de/modell-3d/werkzeuge/mono-m5-m5s-numnbered-calibration, it prints in 15 minutes. The grind from https://cults3d.com/de/modell-3d/werkzeuge/rerf-grid-for-anycubic-photon-mono-4-scad-file helped to scale the model to the build plate.
// Bed Lenght (mm)

bed_x = 195.84;

// Bed Width (mm)

bed_y = 122.4;

//Border Thickness (mm)

border = 0.5;

//Grid Columns

cols = 4;

//Grid Rows

rows = 2;


// Calculate cell sizes

cell_width = (bed_x - (cols - 1) * border) / cols;

cell_height = (bed_y - (rows - 1) * border) / rows;


// Outer rectangle (the full border)

difference() {

    // Outer rectangle

    cube([bed_x, bed_y, border]);


    // Inner hollow grid space

    for (i = [0:cols-1]) {

        for (j = [0:rows-1]) {

            // Position the hollow grid cells

            translate([i * (cell_width + border), j * (cell_height + border), 0])

                cube([cell_width, cell_height, border + 1]);

        }

    }

}
The test model was loaded into Lychee slicer 7.4.2. A small cube was added to the top right corner to have an anchor for the orientation throughout the tool chain.
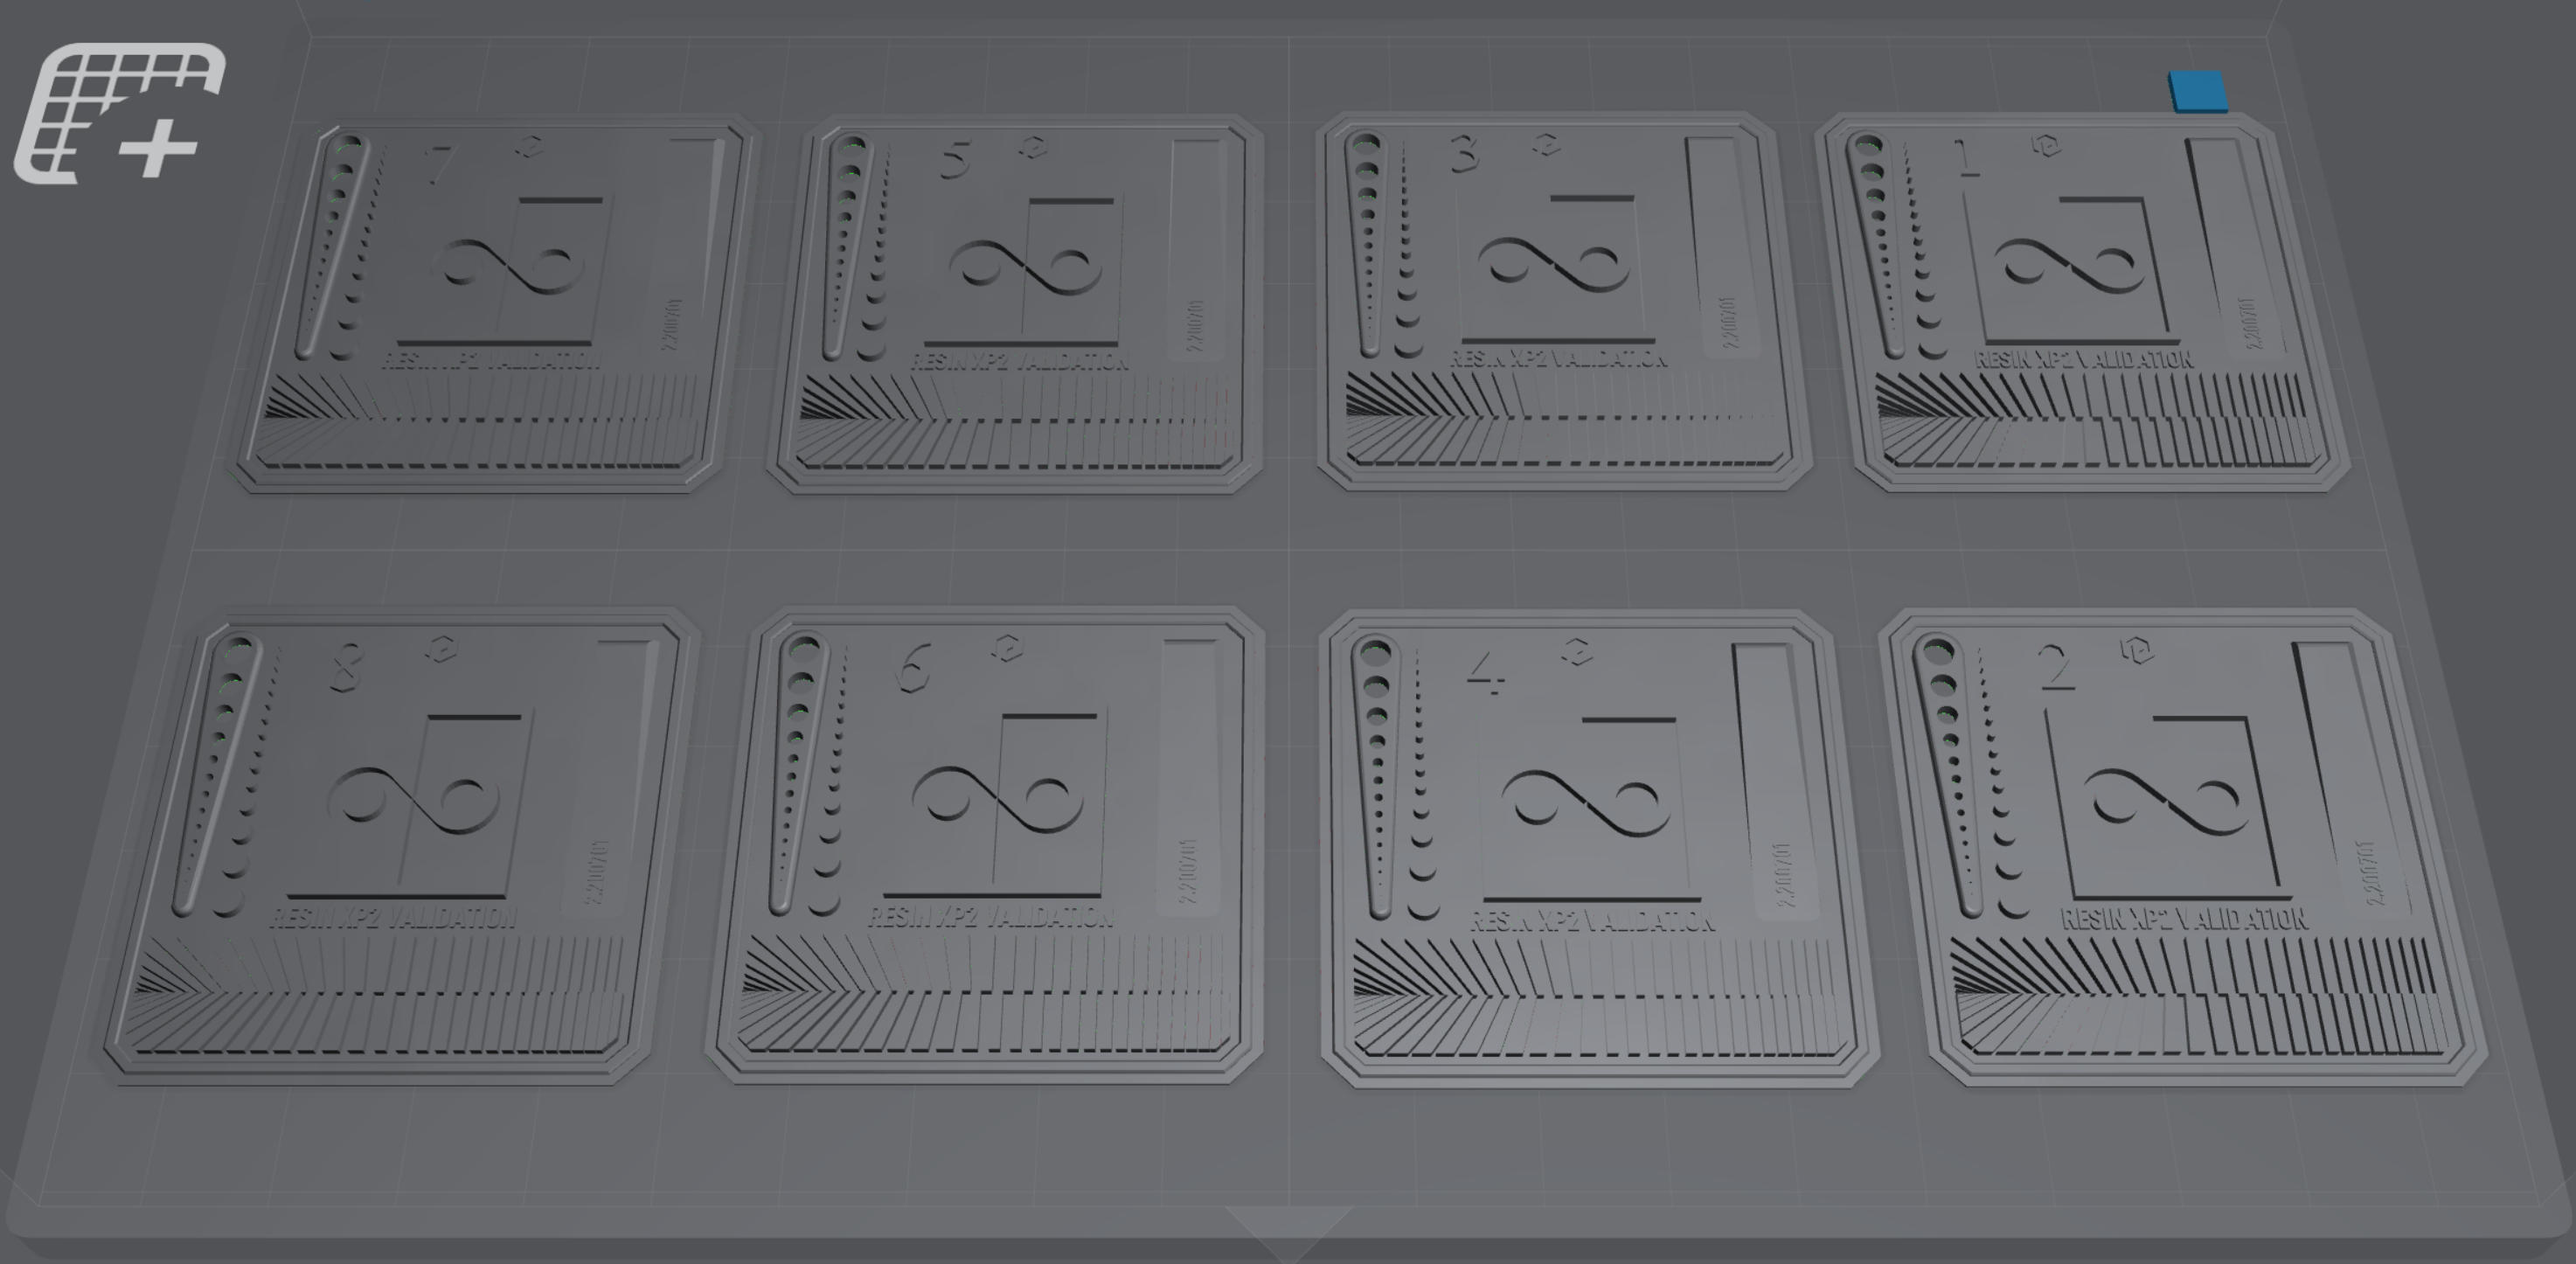
The mark is in the top right corner.
After exporting the file from the slicer to the native printer format, you can edit the print file in UVTools.
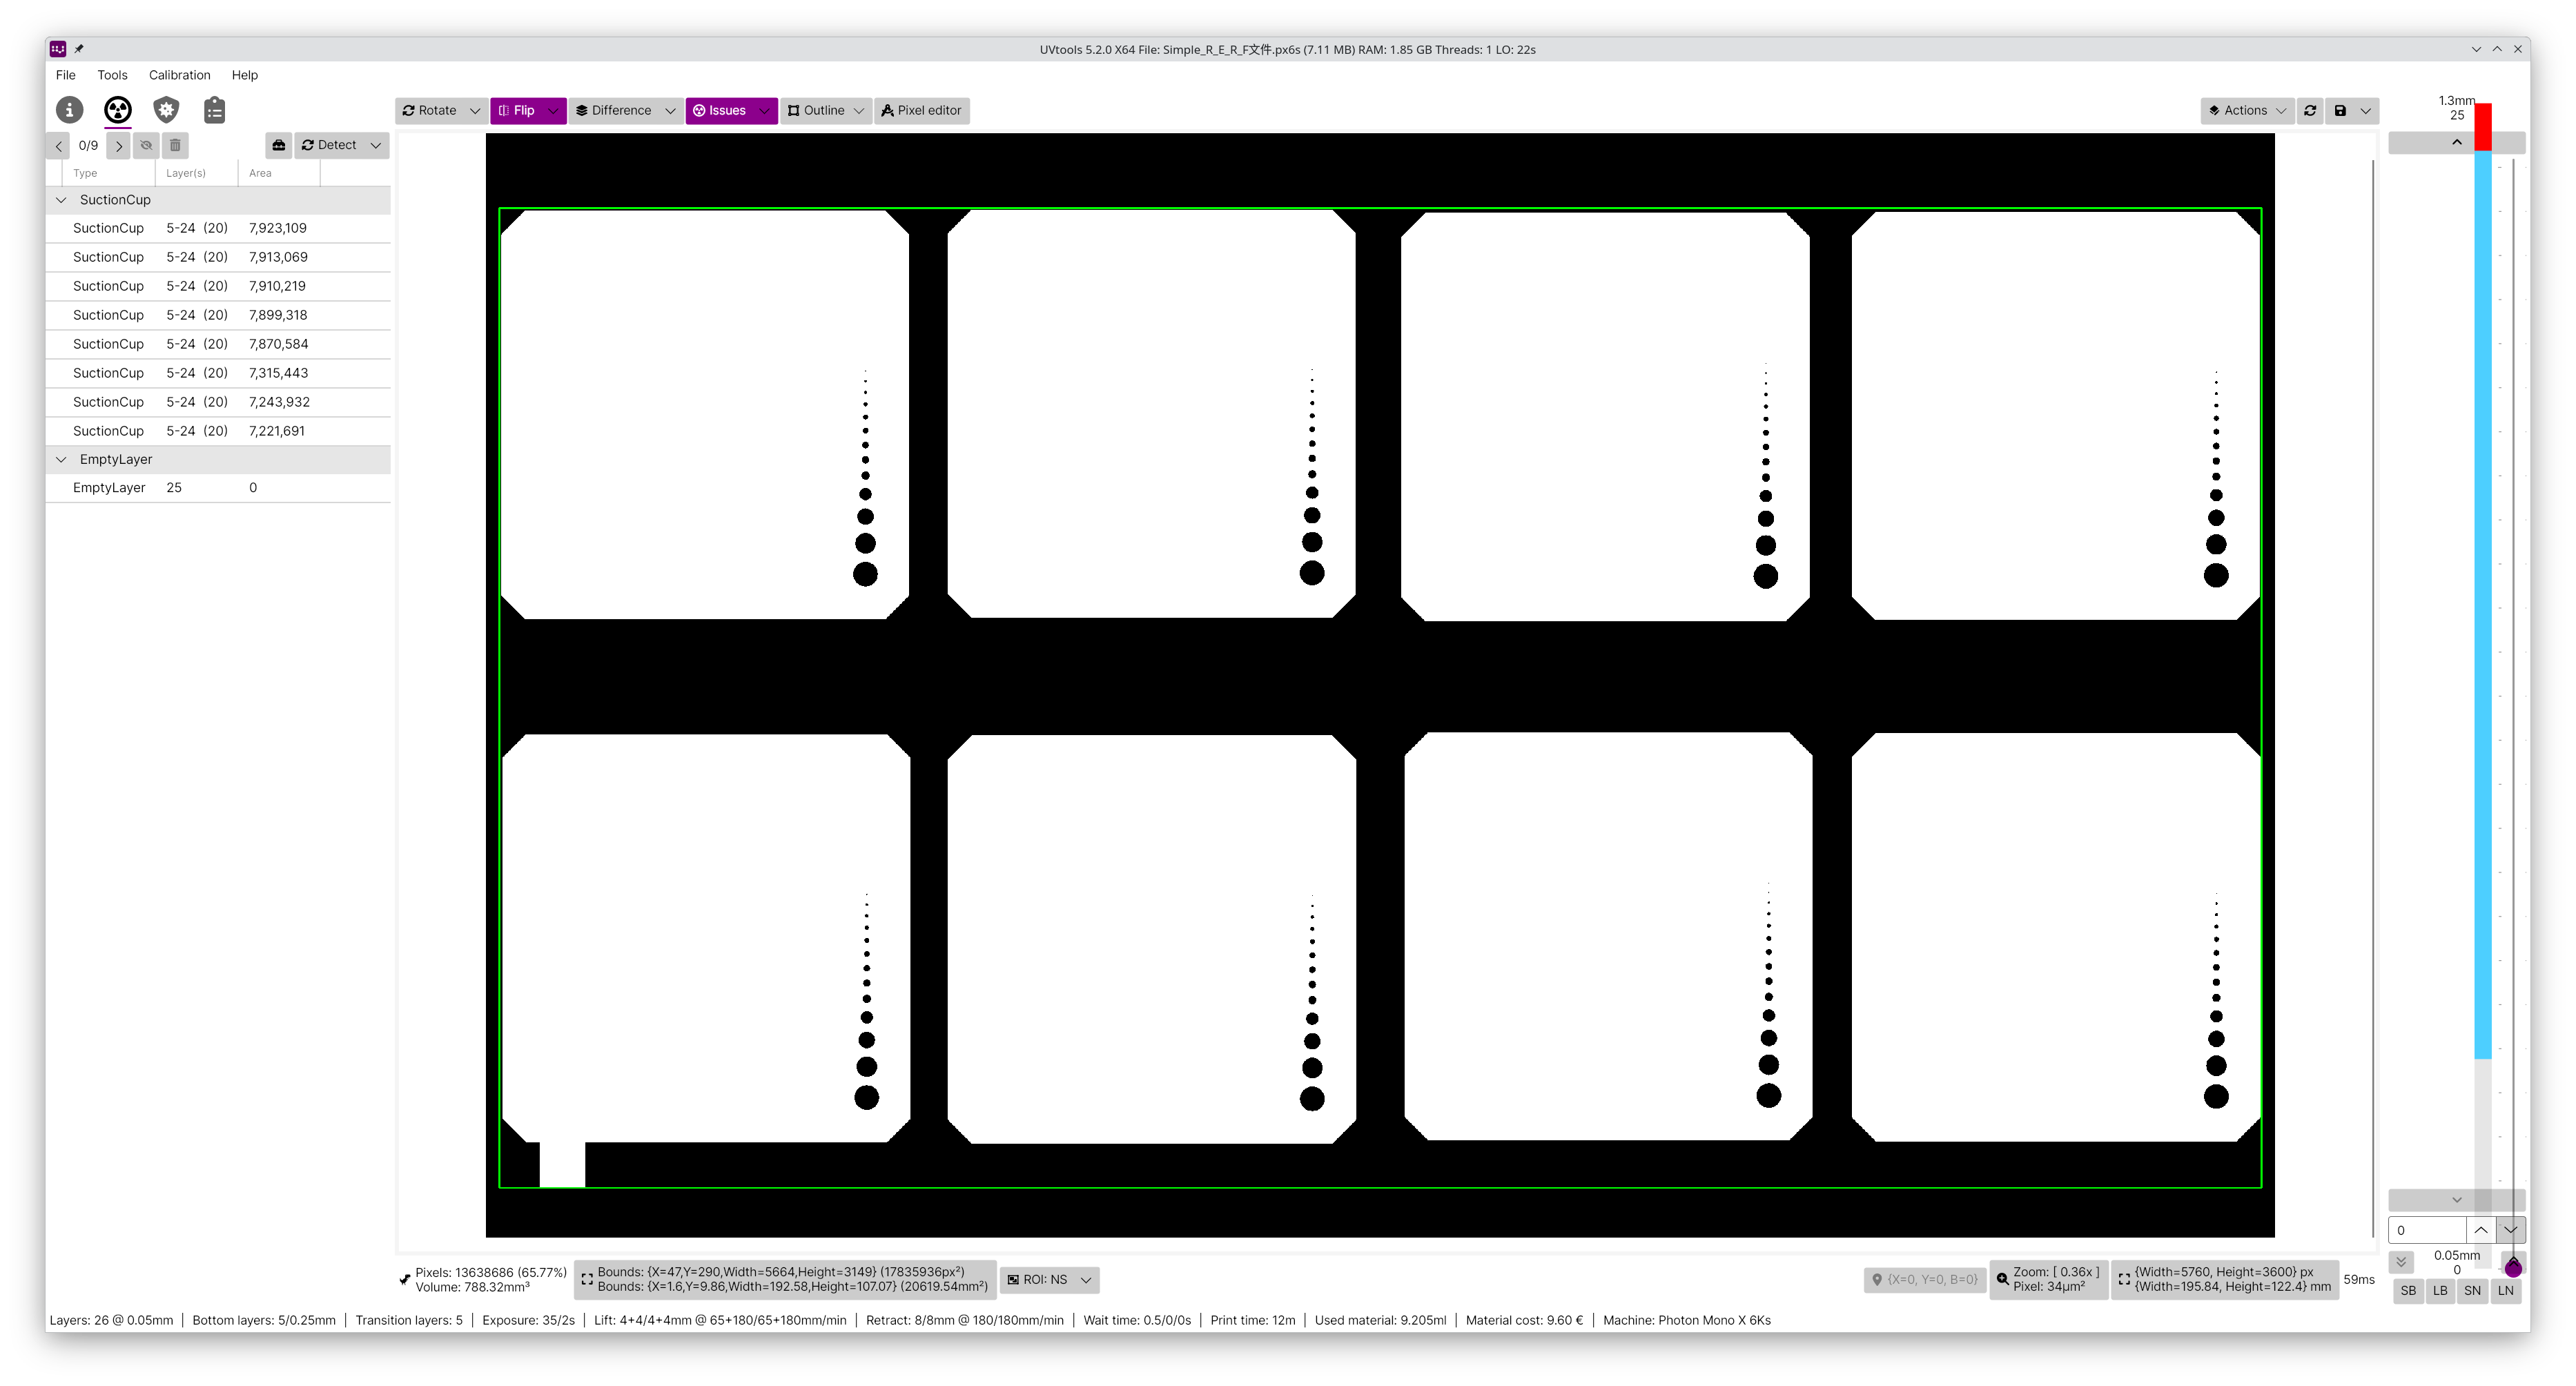
UVTools showing a layer.
The mark is in the bottom left corner.
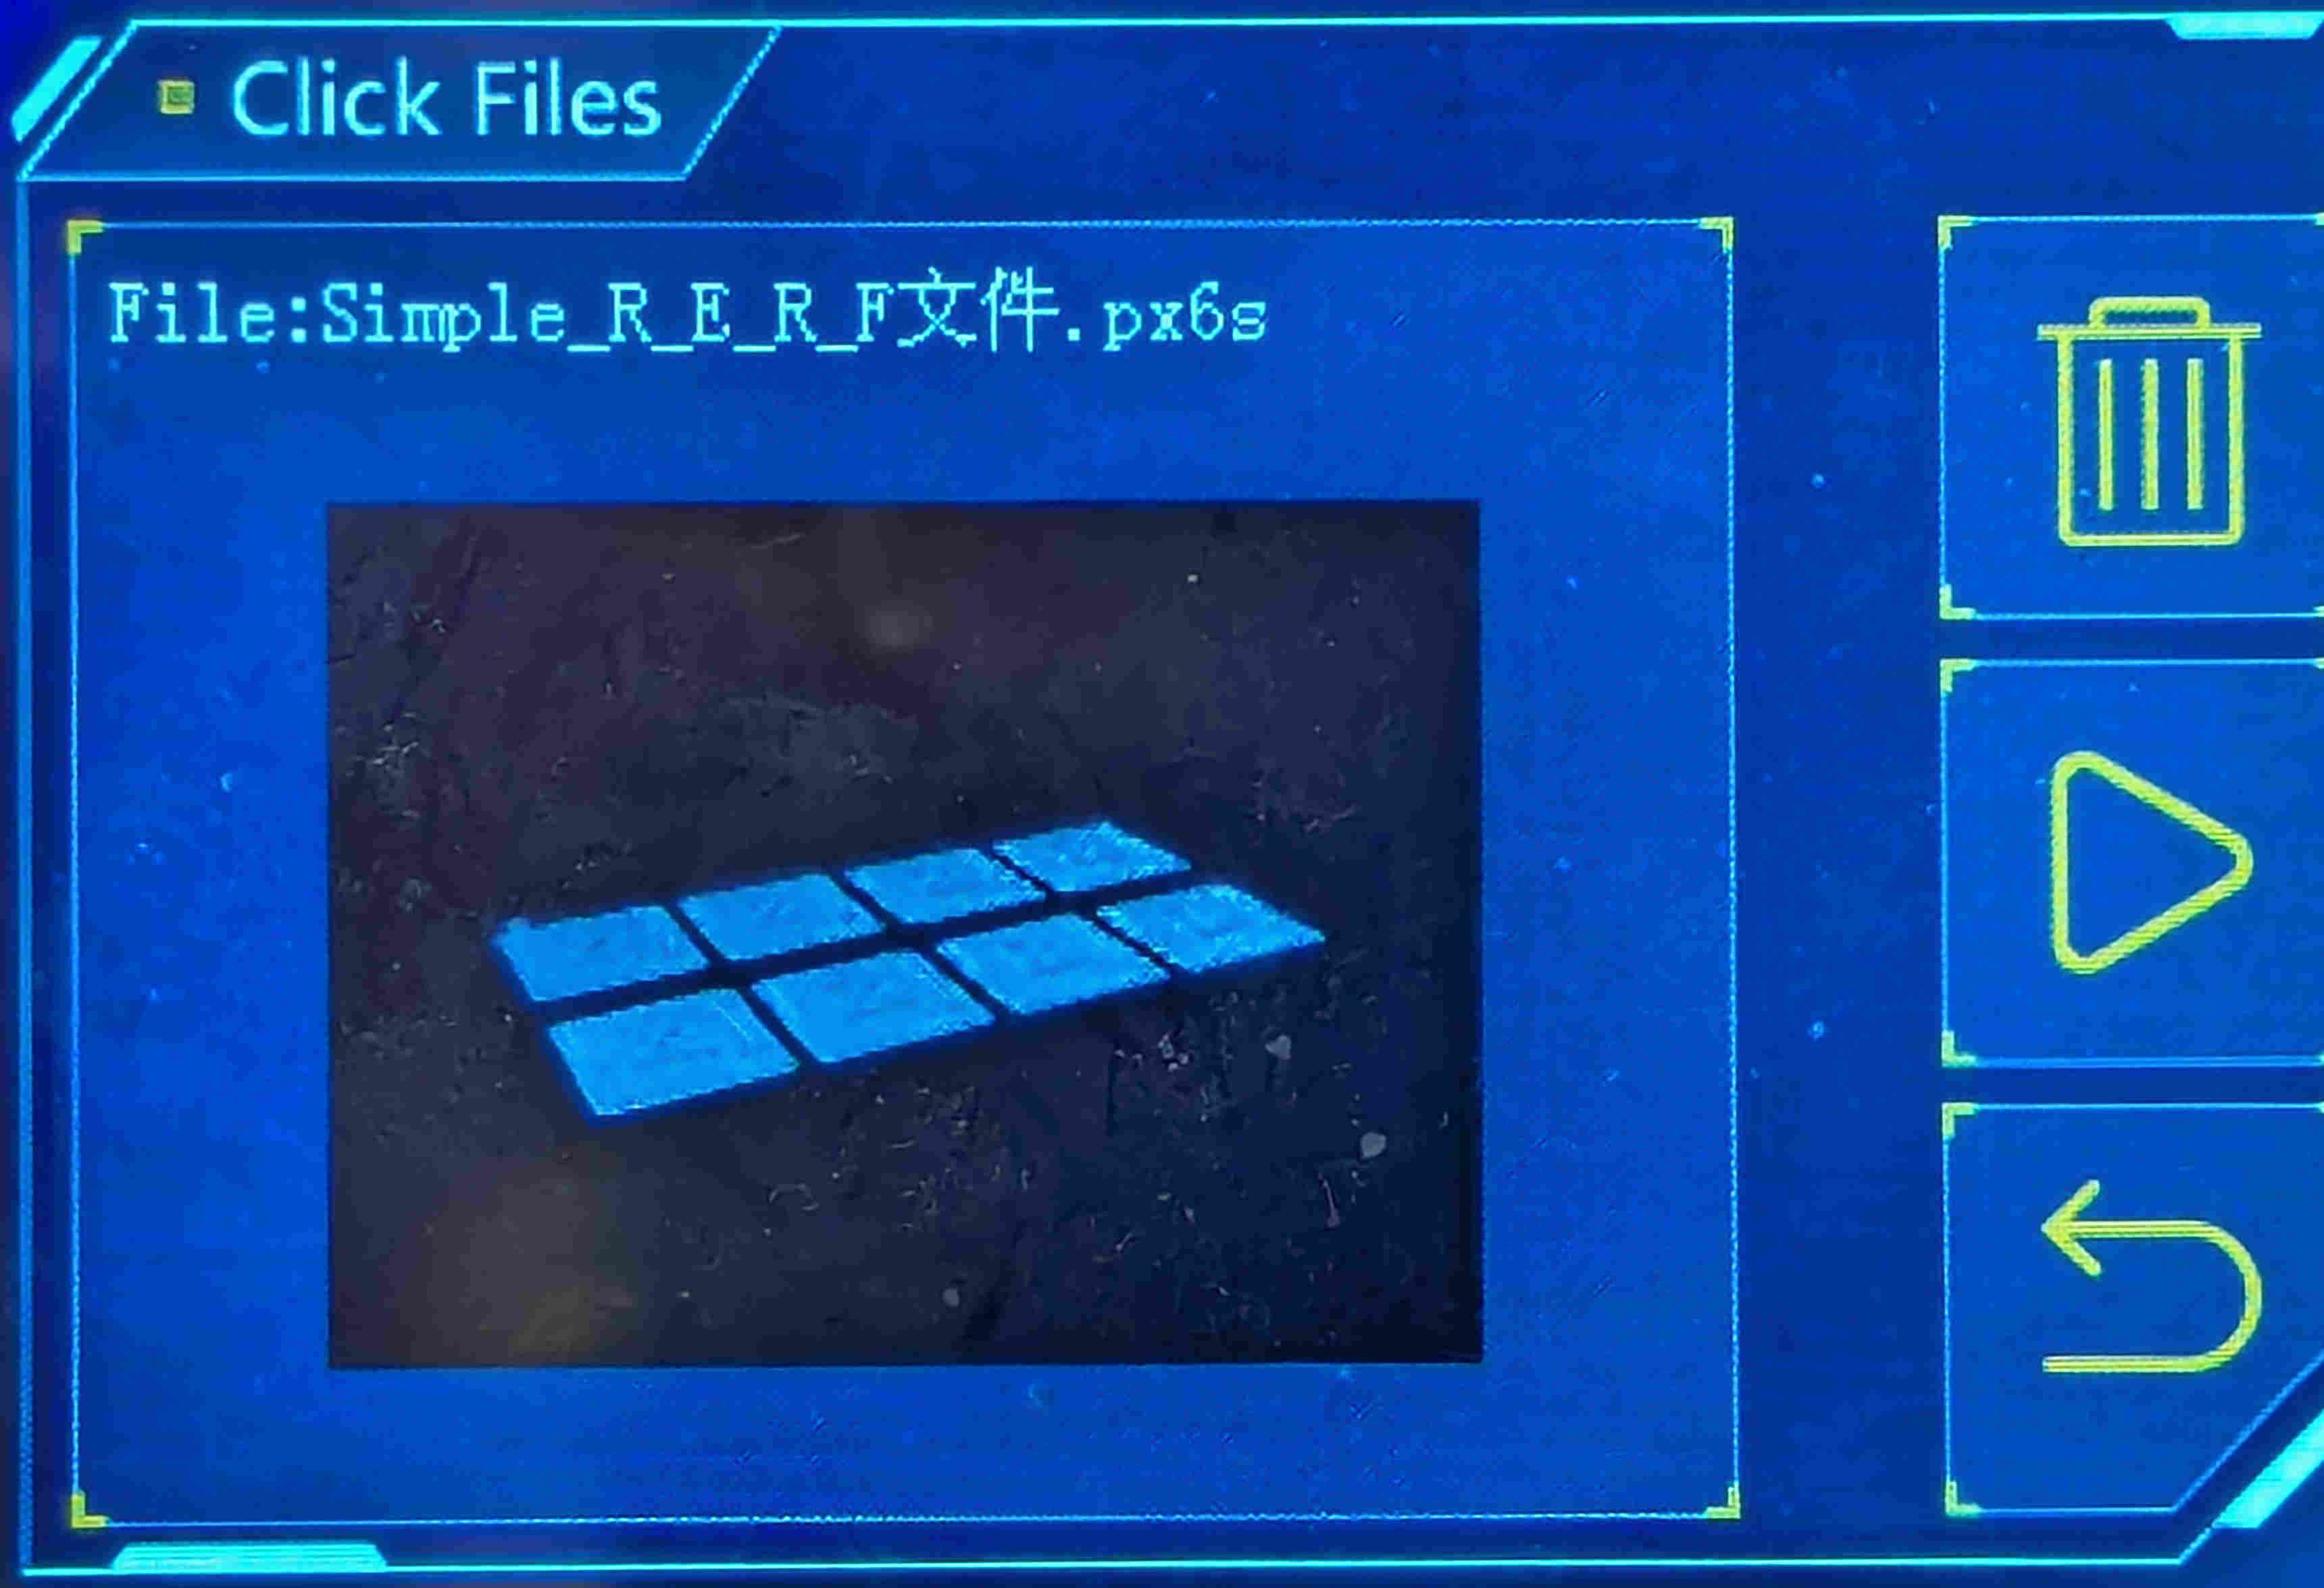
The printer shows a preview of the file.
The mark is in the top left corner.
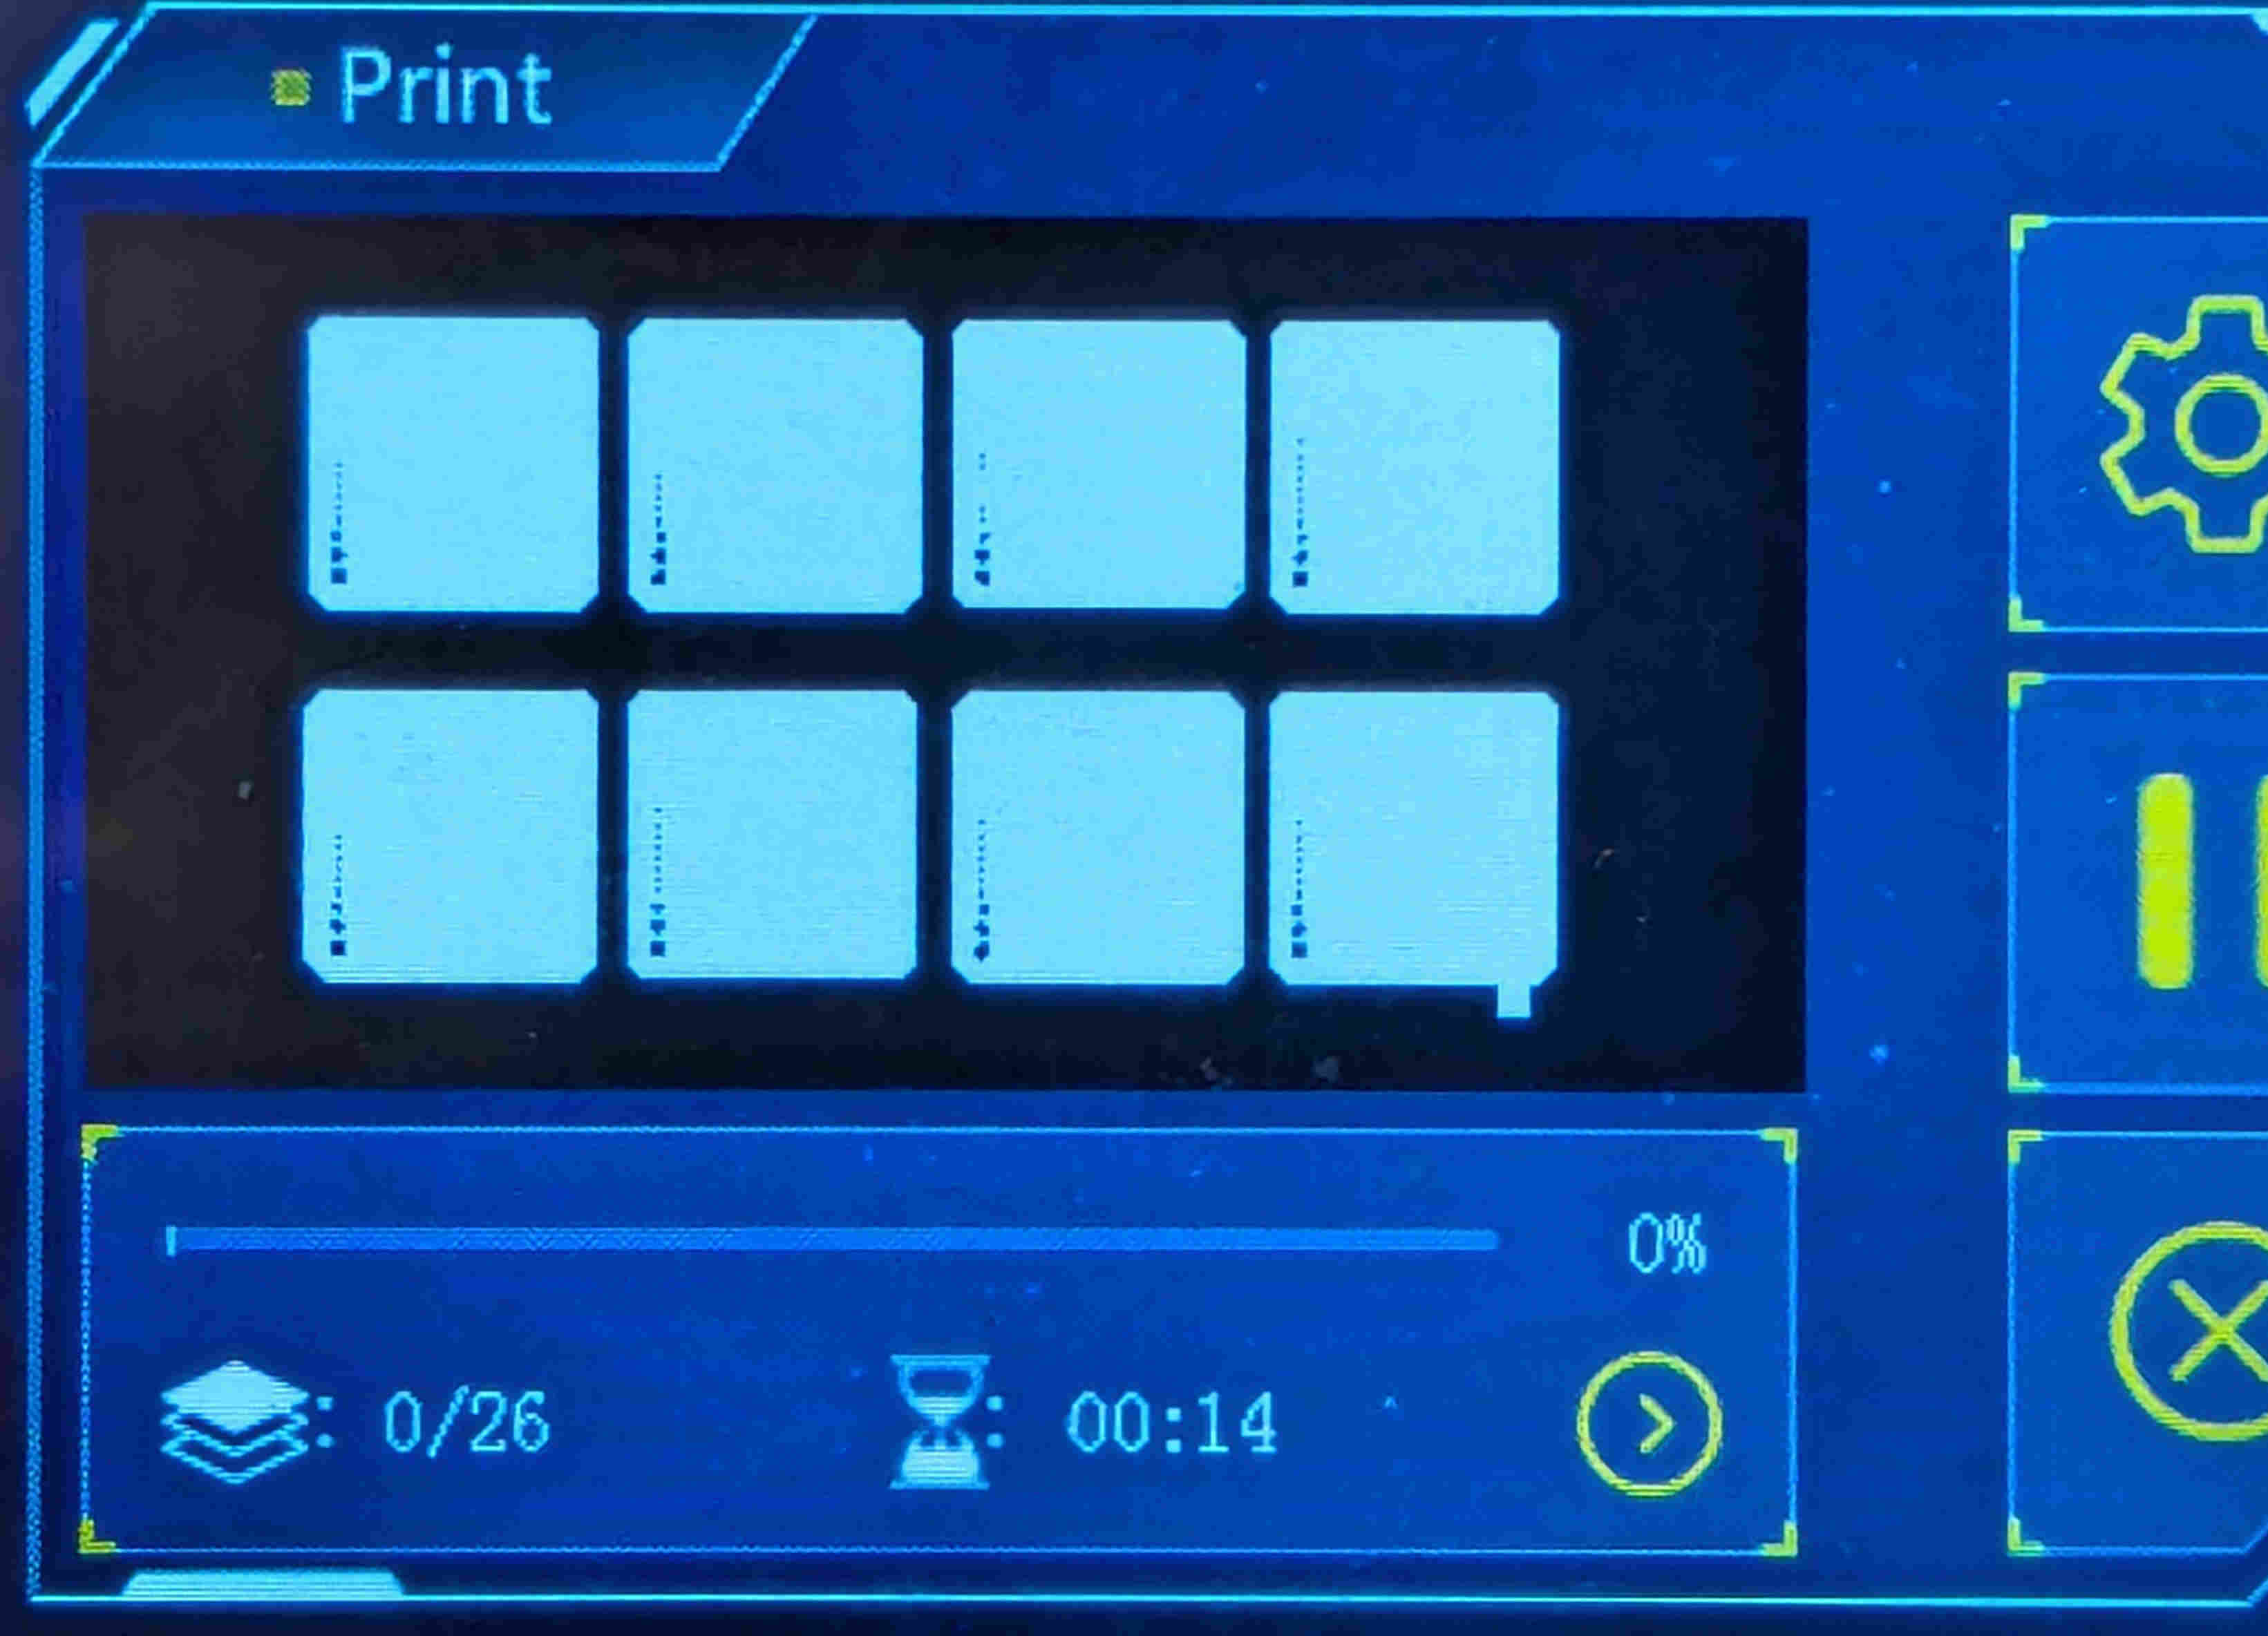
During the print, the printer's display shows the layer.
The mark is in the bottom right corner.
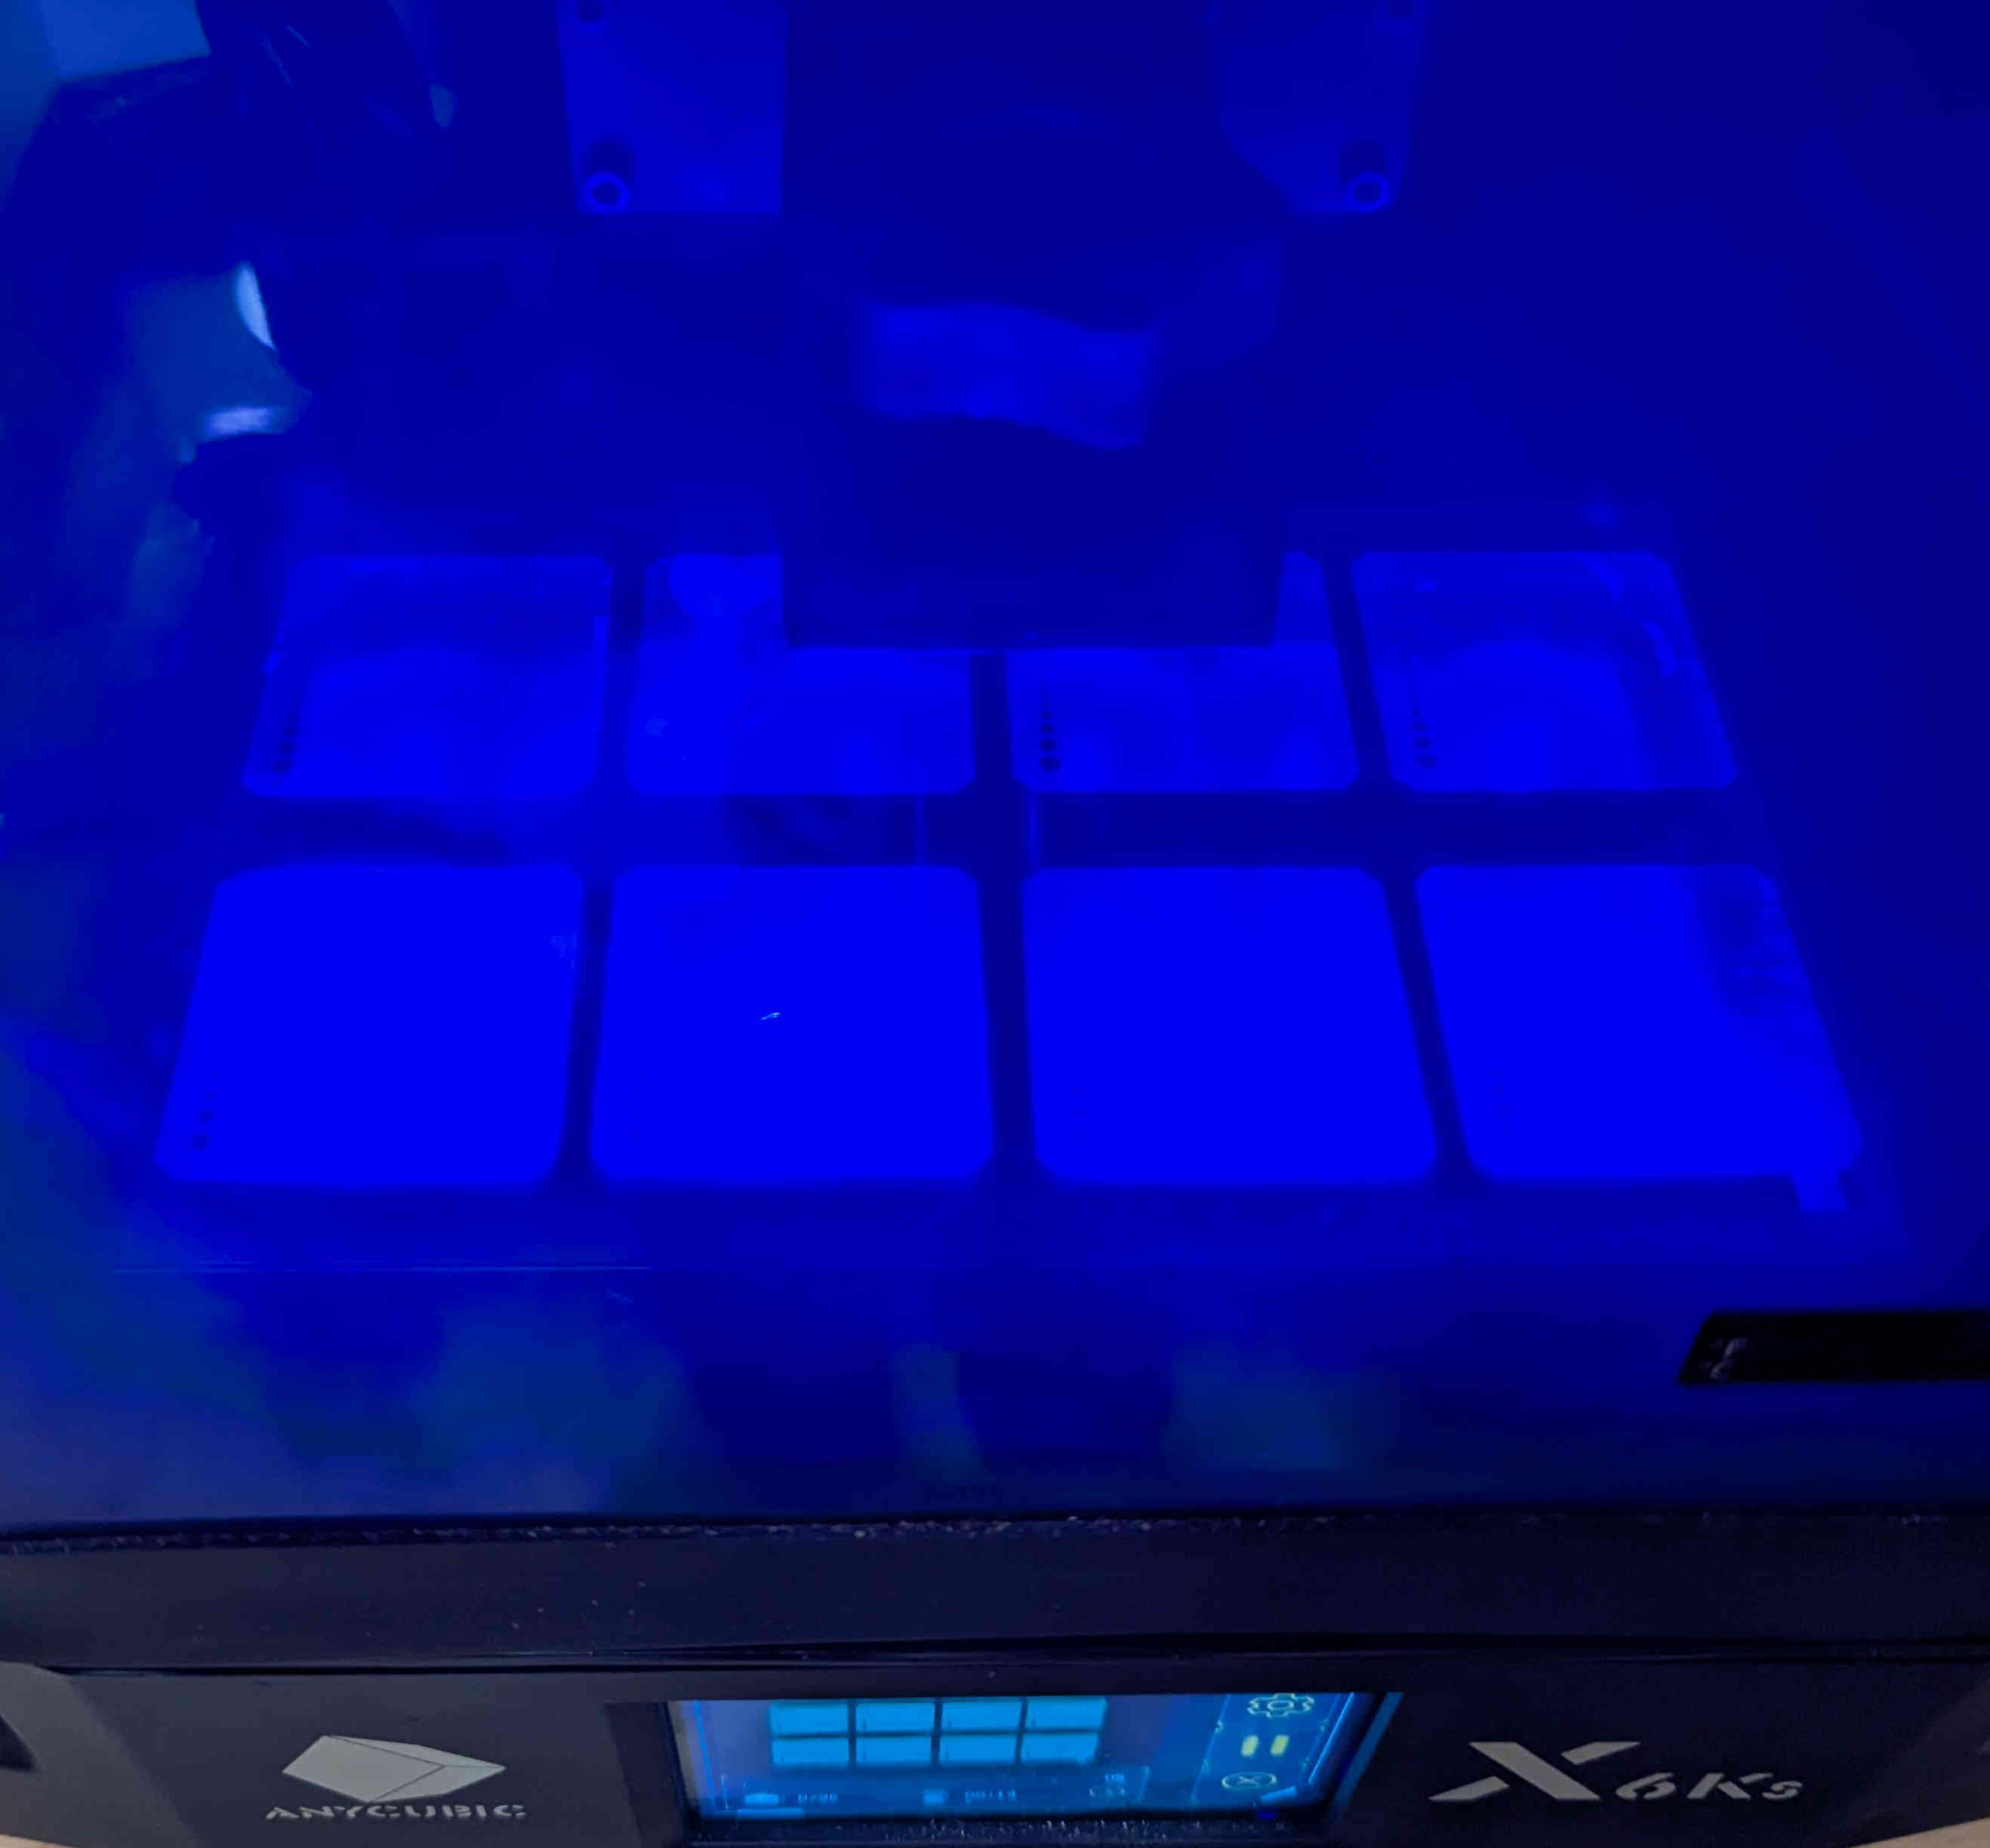
The screen is printing exactly as shown on the small display.
See the different expose times. The order of the grid cells is: 2, 1, 4, 3, 6, 5, 8, 7. It can be seen in the third part which is in slow motion.